


Django is an open-source web framework written in Python. Django lets you turn your concept into application within a matter of hours. It is a framework for perfectionists with deadlines.
How to setup Django virtual Environment
At first, you need to have python3 installed on your machine. You can download python from here
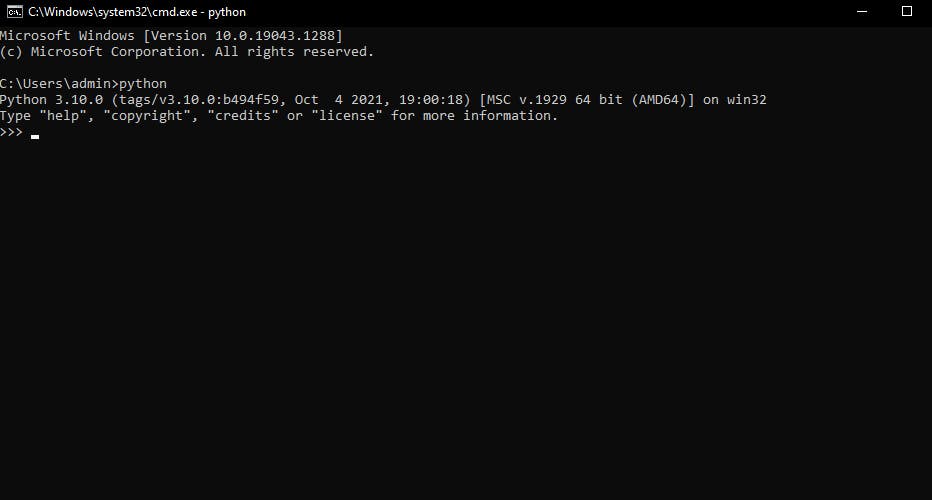
To check if python is installed properly, open your terminal and type
python(Windows) or python3 (Linux or mac)
You will see something like this
After python is installed, we need to create a folder for our Django project
Assuming you know to create a folder and did create one, let's open the terminal inside the folder you created
and type the following command
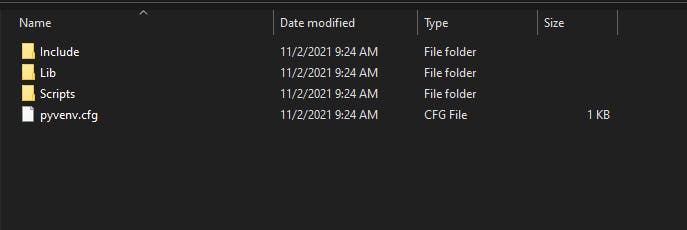
python -m venv djangoenv
djangoenv is the name of the environment we are creating, you can give it any name you prefer

This will create a folder named djangoenv. Inside the folder, you will see folders like below
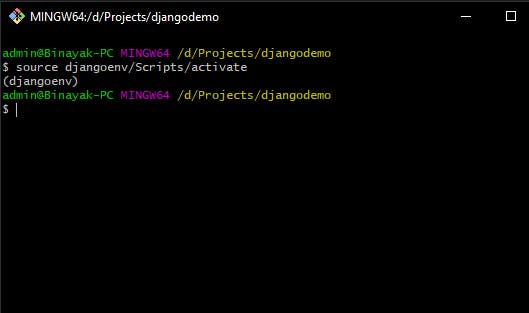
Now we need to activate the environment, we can do it with a simple command
source djangoenv/Scripts/activate
Now we will install Django inside the virtual environment
pipenv install django
This will install Django inside your virtual environment.
Now to create the Django project, use the command
django-admin startproject mysite
It will create the project with this folder structure `
inside mysite
manage.py

mysite/

    __init__.py

    settings.py

    urls.py

    asgi.py

    wsgi.py
We are set now, we have successfully created the Django project.
Now, Get inside the directory mysite and type the following command
python manage.py runserver 8080
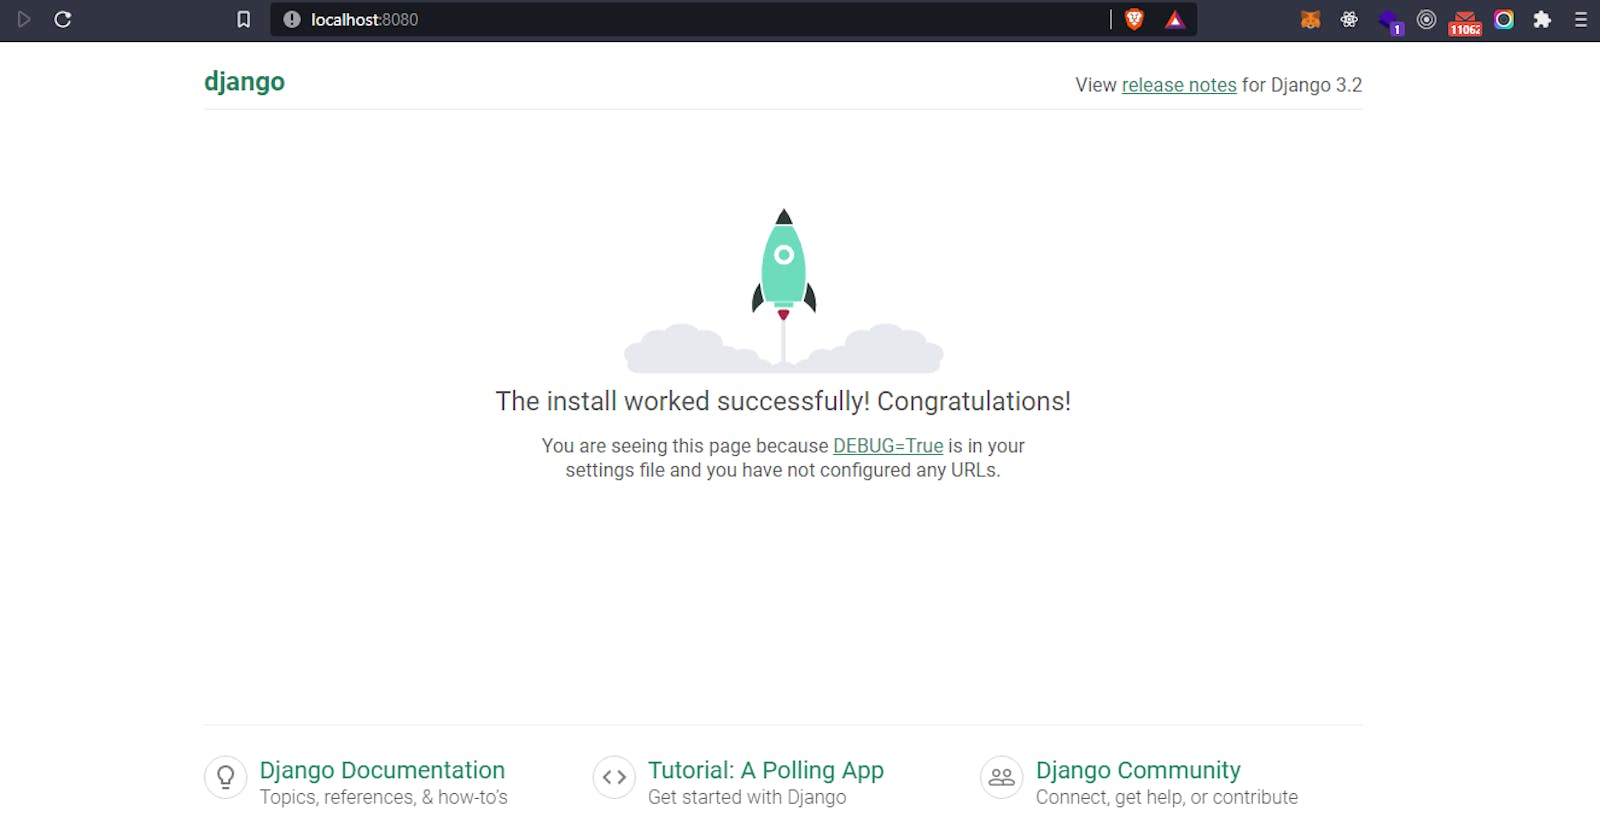
Open the browser and type localhost:8080
You will see an interface like this

You've successfully created a Django project and running in Virtual Environment